So
you've got "a friend" who is a social media addict. They check in to
every location, Instagram every meal, even use "hashtag" in
conversation. Well, Buffer can help them keep their social media feeds
flowing with content without chaining them to a phone or laptop.
The
way Buffer works is simple: Instead of posting directly to your social
media service, you create a post in Buffer that's added to a queue and
published according to a schedule you specify. That means you can
prepare those funny cat videos all at once but post them to your
profiles over time so you don't overwhelm your friends and followers
with cuddly cuteness. And you can have a real life, as well.
Buffer is super easy to use, and a basic account is free, so let’s get started.
Setting up Buffer
Once you
sign up with Buffer,
you can start adding social media accounts. If you joined by logging in
with your Facebook, LinkedIn, or Twitter credentials, that account will
be automatically added. Click
Accounts and the appropriate button underneath the logo of each additional service you’d like to add.
You
can only add one social media account type with the free Buffer plan.
The “Awesome” plan lets you add up to 10 social profiles.
The
free Buffer account allows you to add one account of each type: a
Facebook group, page, or profile; a Twitter profile; a LinkedIn profile
or page; a Google+ page (Profiles aren’t supported due to limitations of
the Google+ API.), and an App.net account.
Using the Buffer queue
To
add a post, select an account in the left column and click Content. A
text box will appear in the center column. Any posts already in your
queue will appear in order, with the post that’s scheduled to be
published next at the top.
Enter
the text for your new post in the text box. You can also add an image
by clicking the camera icon in the lower-left corner of the box.
The Buffer queue has a simple interface and will shorten pasted links automatically.
To
add a link, paste it into the text box. By default, the link is
shortened using Buffer’s buff.ly service, but you can opt to use
bit.ly, j.mp or no shortener at all by clicking
Settings>
Link Shortening.
If
you want the post to be published to more than one account, click the
icon corresponding to each additional account in the upper-left of the
text box.
When you’re finished composing your post, click Add to Queue.
Posts in your Buffer queue will be posted one at a time according to
your schedule. (I'll show you how to set that further down.)
There
are also a few ways to have a more time-sensitive post jump the queue.
For these, click the down arrow to the right of the Add to Buffer
button, and you’ll get a list of three other posting options.
Clicking Share Next will
place the post at the front of the Buffer queue. This is useful if you
don’t want to share the post immediately but want to prioritize it over
your other queued posts.
Clicking Share Now does
exactly what it says: It shares the post without regard to the queue.
While this doesn’t seem immediately useful, this option makes Buffer a
convenient way to cross-post to different social media sites at once.
Gone are the days of posting an update to Twitter, Facebook, and
LinkedIn separately, on different apps.
By clicking the last option, Schedule Post, you can set individual posts to publish at a specific time. Scheduled posts don't affect other posts in the queue.
Once
content is added to your queue, you can re-order your posts as needed.
Hover over the post icon (a picture for images or a chain for links) and
it will change to a move icon. Click this and drag and drop the post
where you want it. You can even copy posts to another account’s queue by
dragging and dropping it over the intended account in the left column.
All according to schedule
You
can set different posting schedules for each account queue in Buffer.
To do this, click on the account you want to edit and click Schedule.
Make sure that you’re using the proper timezone on your schedule page for each profile.
The
first thing you want to do is set the timezone for the account. Type in
the name of your city (or the closest big city in your timezone), and
select it from the list of suggestions that appear below the text box.
In
the middle of the page, you’ll see the posting schedule. Each profile
gets one schedule, and if you upgrade to a paid account, you’ll be able
to add additional schedules for each profile. This allows you to have
different schedules on weekends or other days. For example, if your
Twitter account posts hourly on weekdays, you can set a separate
schedule to post every four hours on Saturday and Sunday.
You
can set Buffer to post at any time, day or night. The more post times
you add, the more content you’ll have to add to keep your queue full.
Posting times are editable within a minute of precision, so if you want to post at 4:37 p.m. on Wednesday afternoon, no problem.
Use the Chrome and Firefox extensions to add to your queue
Buffer’s Chrome and
Firefox extensions
really let the app shine and make Buffer indispensable for those
late-night browsing sessions when you want to share everything you find.
The
Buffer extension offers several ways to post to your queue directly
from websites. You can post highlighted text, images, and entire pages
to an account's queue in just a couple of clicks.
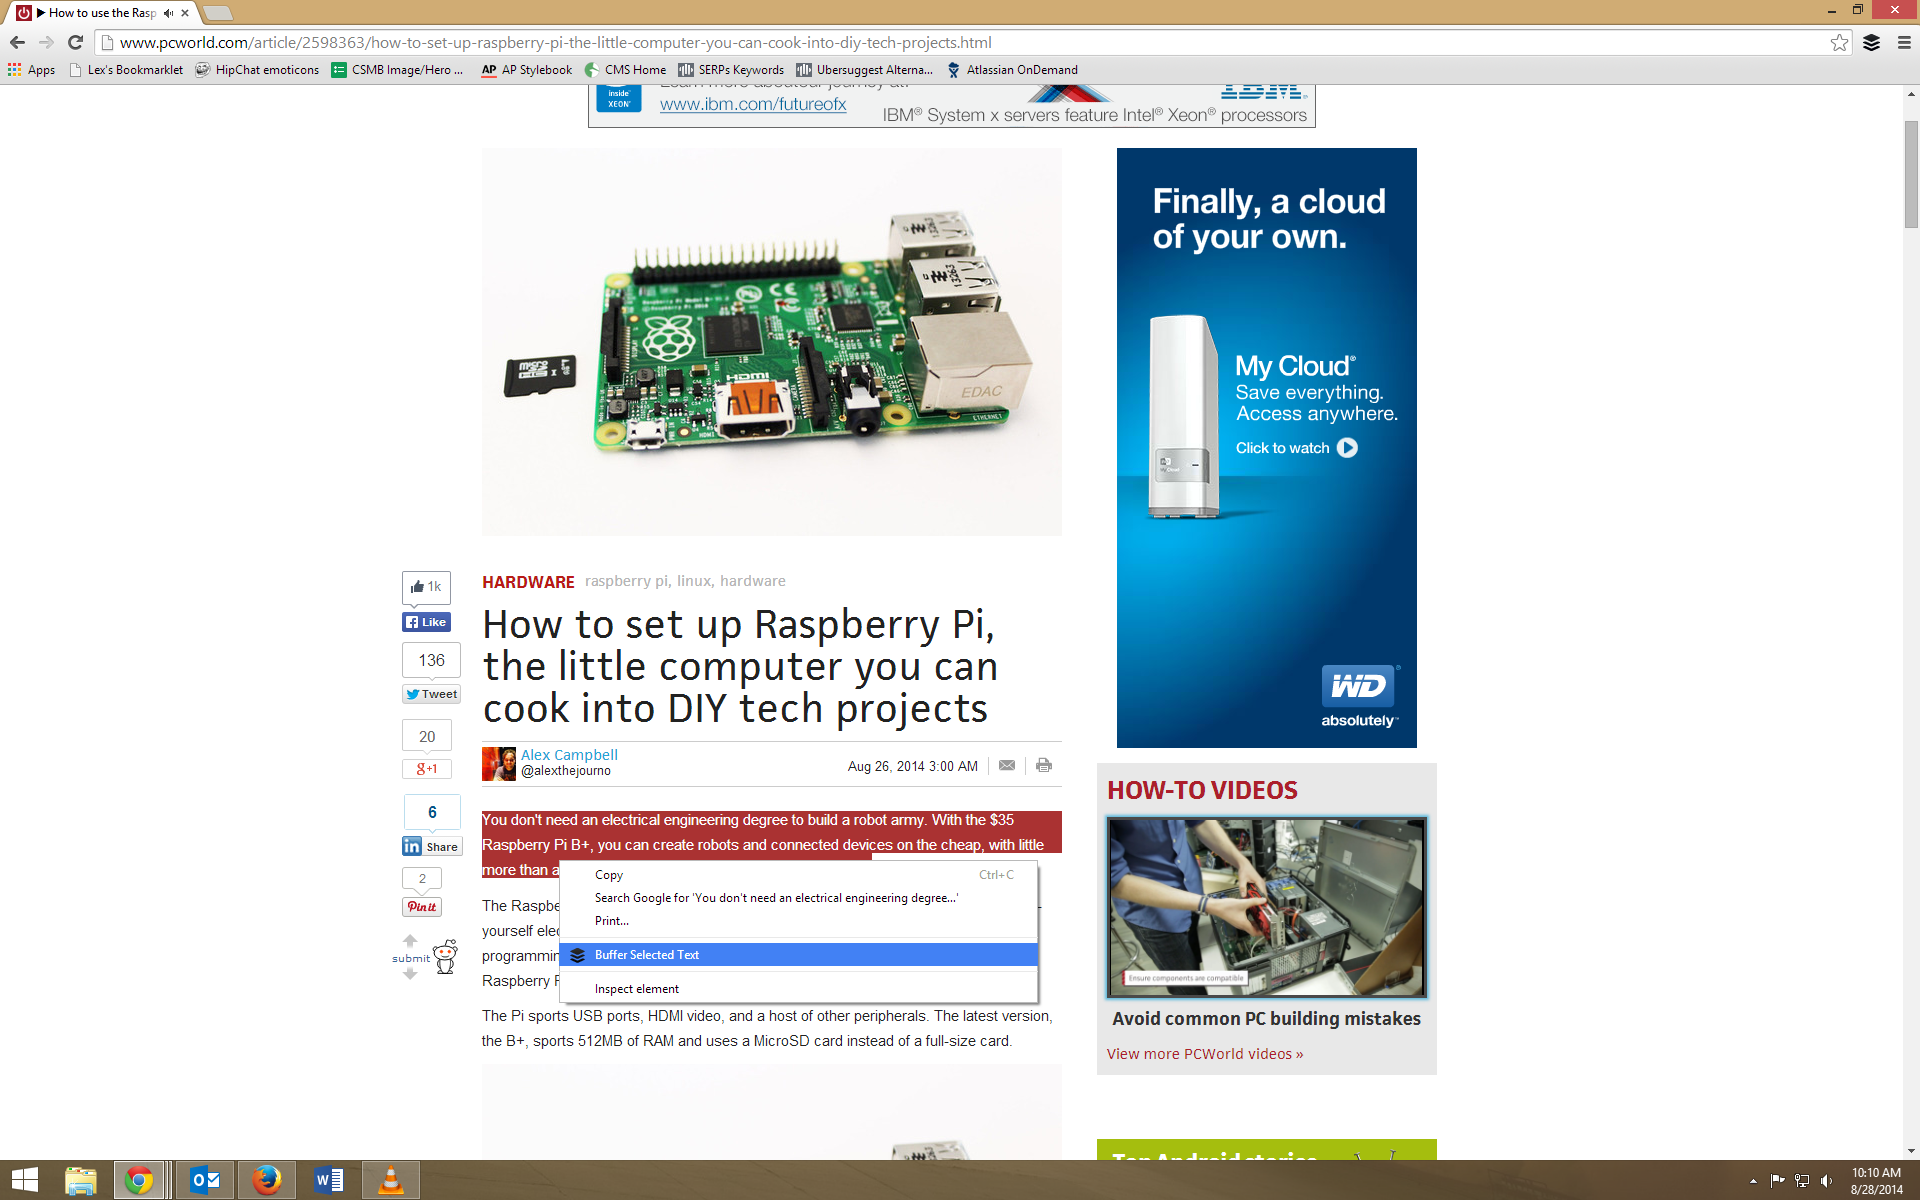
Highlighted text
To use the highlighted text feature, select the text you’d like to quote in your post, right click, and select Buffer Selected Text.
Posting
to your Buffer queue from highlighted text makes quoting extremely
easy. Just watch that character count for your Twitter accounts!
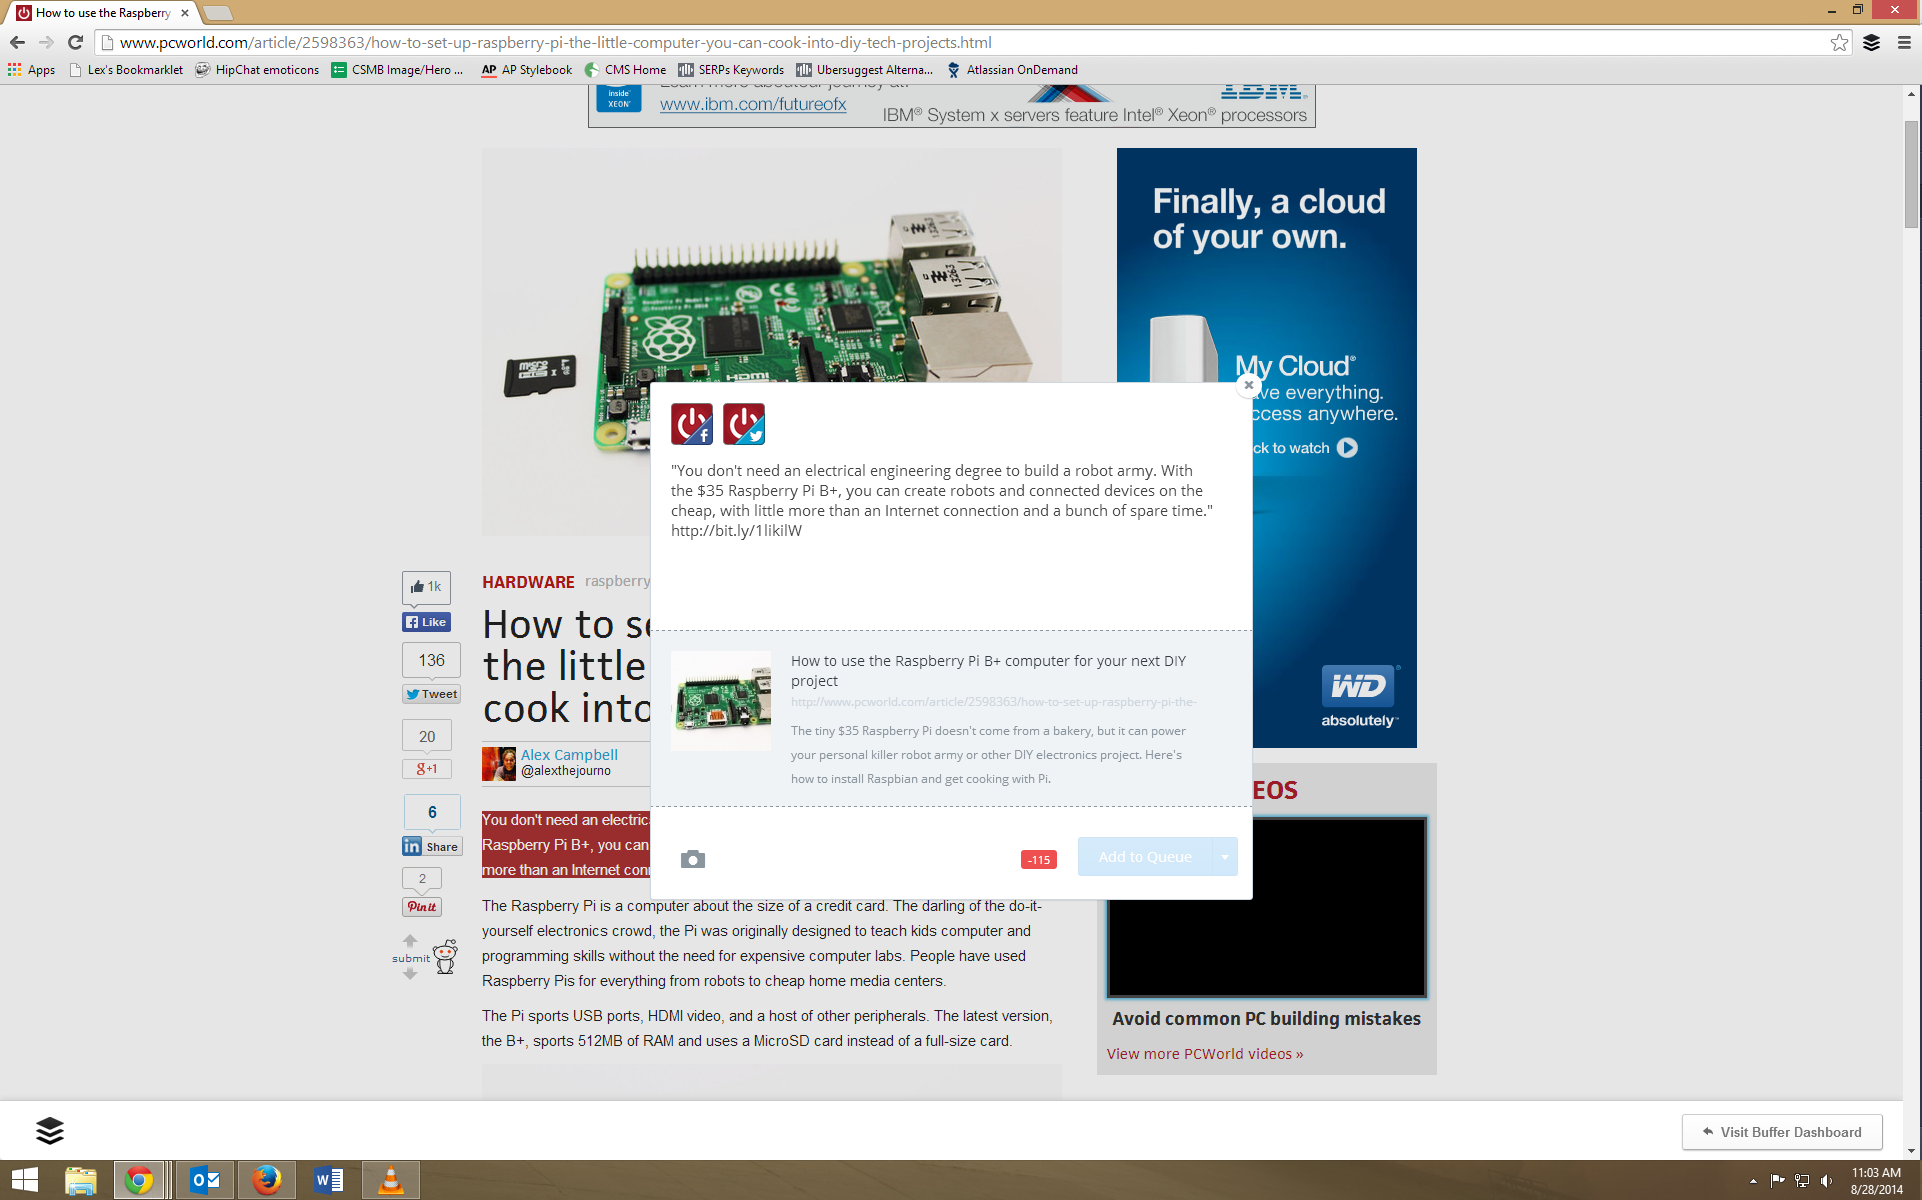
A
text area like the one on the Buffer website will appear in a pop-up
dialog with the selected text already added to the text box in quotes.
Buffer will also add the shortened URL for the web page from which you
quoted.
Highlighted text will be added to the body of your Buffer post.
This is really useful for quoting parts of articles in tweets, provided you watch your character count.
Adding images
Buffer makes it easy to share images with the Share Image button.
The
Buffer Chrome extension makes it just as easy to add images to your
posts. When you mouse over an image, a blue ‘Share Image’ button will
appear. Click on it, and a dialog box will pop up. The image will
already be added to the post, along with the text from the page’s title
attribute and a note about where the image was found (using a shortened
URL, of course).
When adding an image to your queue, Buffer automatically accounts for the characters needed for the image link in Twitter posts.
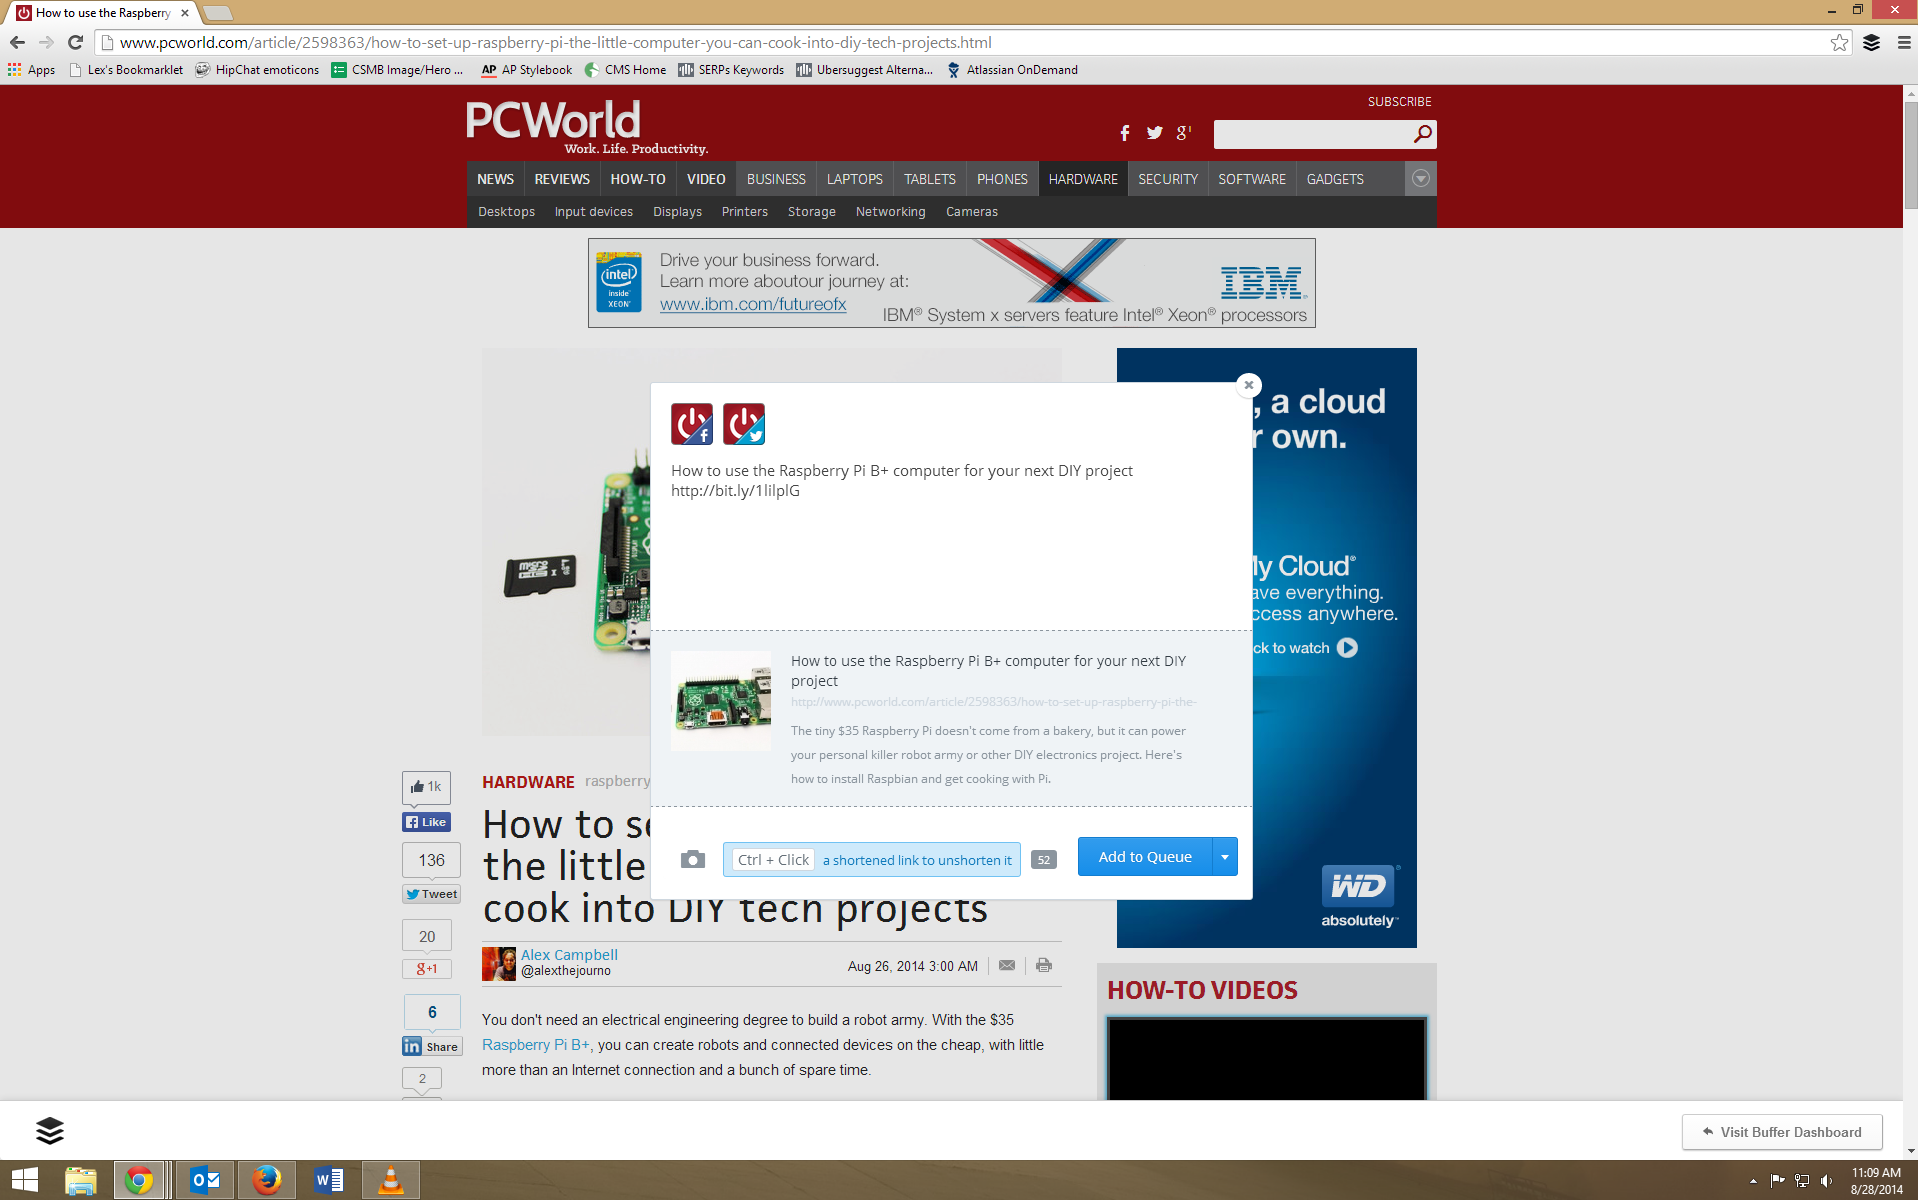
Sharing a link
If
you want to share an entire web page, click on the Buffer icon in the
upper-right corner of Chrome. The dialog will pop up prefilled with the
title text and a shortened URL.
The
post will also have an image (if the webpage has one) and link summary
attached for a Facebook link post. When you hover over the image to the
left of the summary, left and right arrows will appear, letting you
select the image from the page you’d like to use in the Facebook link.
Adding a link post to Buffer is not unlike adding one to Facebook.
Note:
If you click the camera icon to add an image, the post will change into
an image post, and you’ll lose the link preview. If you really want to
have a link post, cancel out by clicking the X in the upper-right corner of the dialog and start over again.
Posting from within social accounts
You can add Facebook posts to your Buffer queue using the link right next to the Share link.
The really cool part of Buffer is that you can add posts to your queue from within Twitter or Facebook.
In
Facebook, you can add a post to your queue by clicking the Buffer link
right next to the Like, Comment and Share links. There's one drawback to
using this feature, though: Shared posts won’t show they were shared
from someone else and will appear to originate from you.
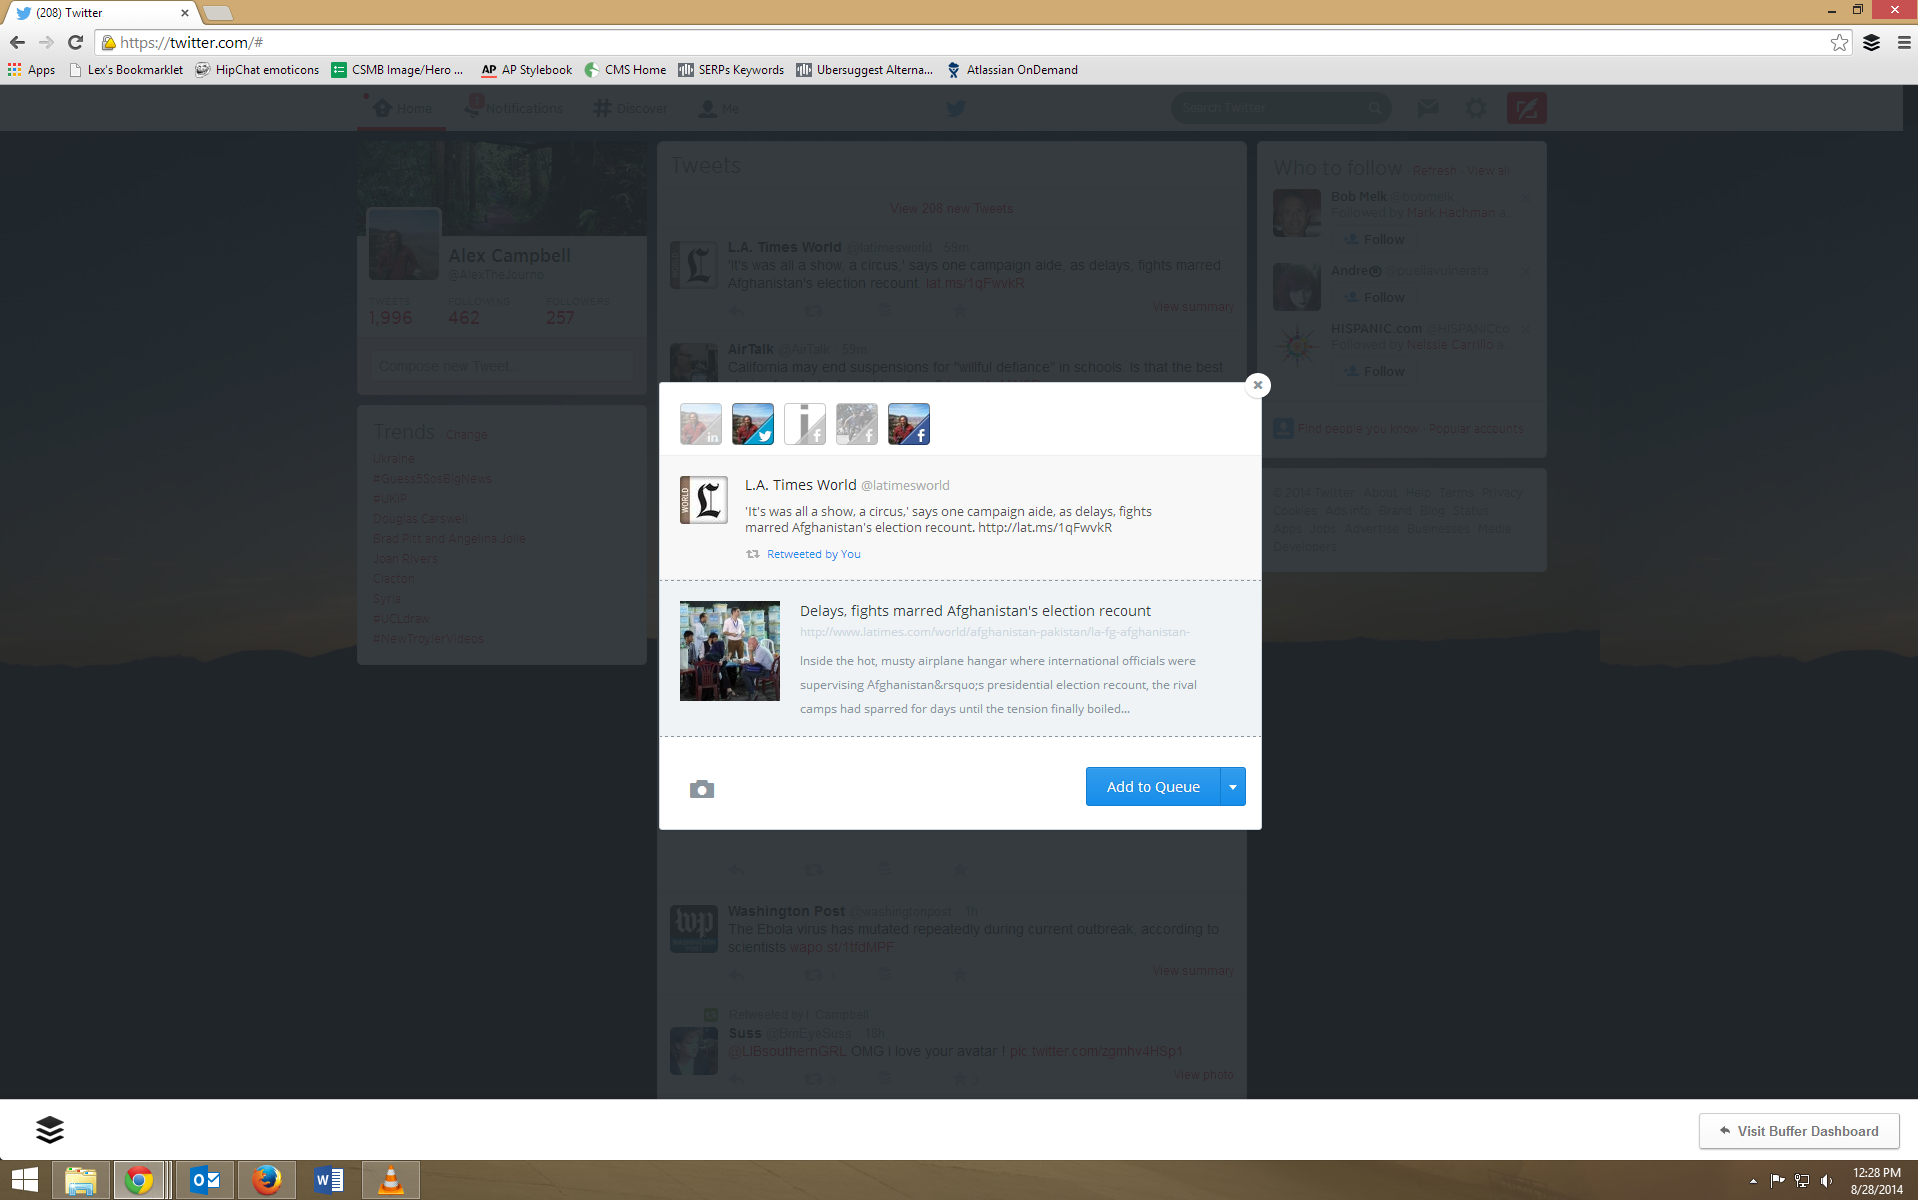
In Twitter, you can add a retweet to your queue by clicking the retweet button and clicking Buffer Retweet in the dialog that opens. Just remember these will appear as embedded tweets when they are posted to Facebook.
Buffering retweets can space out your tweets and avoid retweet spam.
Time hacking with Buffer
Even
if my queue is empty, I still use Buffer to share content to several
social media accounts at once using the Share Now option. That alone can
save me time copying, pasting, and editing text.
If
you’re a blogger and you publish several blogs in a short span of time,
you can easily spread out your social promotion of those posts over the
week. If you take a vacation, you can add old posts to you queue to
keep your social media accounts active and drive traffic even while
you’re away.
Once you've mastered the web-based application, you can install the
iOS and Android apps and post photos or links on the go.
There
are plenty of other uses for Buffer, and once you get used to it,
you’ll probably wonder how you ever shared content any other way.